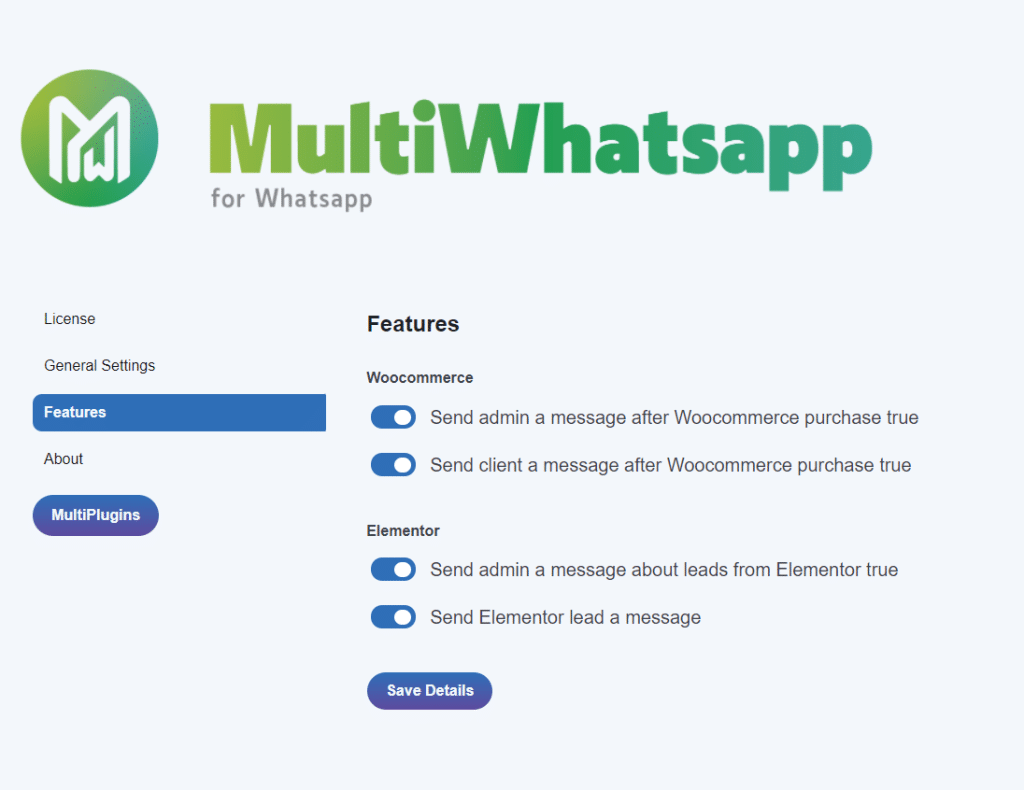
The purpose of connecting the MultiWhatsapp plugin to Elementor forms is to enable automated WhatsApp messaging when a form is submitted.
Configuration Steps to Connect Elementor Forms with MultiWhatsapp
Ensure the plugin is active and configured properly with the receiving number and send action enabled.

Configuring Form Fields
In the form you want to activate the plugin, make sure you have defined a phone field as type phone, where the website visitor fills in the number to receive the automated response. Additionally, set a suitable label and ID in the language you prefer for each form field, so you receive a summary with labels next to the phone number.

Set the after submission action to send via WhatsApp.Set the after submission action to send via WhatsApp.

Customize the error messages:
The plugin allows configuring customized error messages for issues in the delivery process.
Some common errors include invalid phone number, message not sent, missing required fields, etc.
Create clear, user-friendly messages to inform your customers if an error occurs while trying to send the WhatsApp message.
For example for invalid phone number:
“Sorry the provided phone number is invalid. Please verify the number and submit again.”
Having customized messages results in a better experience when errors happen, instead of showing default system messages.
Refer to documentation on how to customize based on error codes. This ensures relevant messaging for your customers regarding WhatsApp issues.
Defining clear error messages upfront allows smoothly handling failures and improves usability.
Refer to the article “Sending Errors” to see possible errors.

In summary, by following these steps you can easily connect your Elementor forms to automated WhatsApp messaging through the MultiWhatsapp plugin for more efficient communication. Defining the right fields and post-submission action is key for proper functioning.


